This was a field trip that didn't involve leaving home, but rather bringing people to us!
Navratra is a Hindu festival in honor of the goddesses Durga (power), Lakshmi (wealth), and Saraswati (knowledge). Navratra means "nine nights" in Sanskrit and is celebrated for nine days, once in the spring and once in the fall. On the eighth day in the fall, young girls are worshiped as goddesses. In India, girls go from house to house and collect blessings and small gifts.
We wanted to share the festival with our friends so we invited some of our neighbors over to celebrate with us. And we wanted to be equal opportunity, so we invited the boys and the girls.
Then each of the kids received a small gift as a blessing.
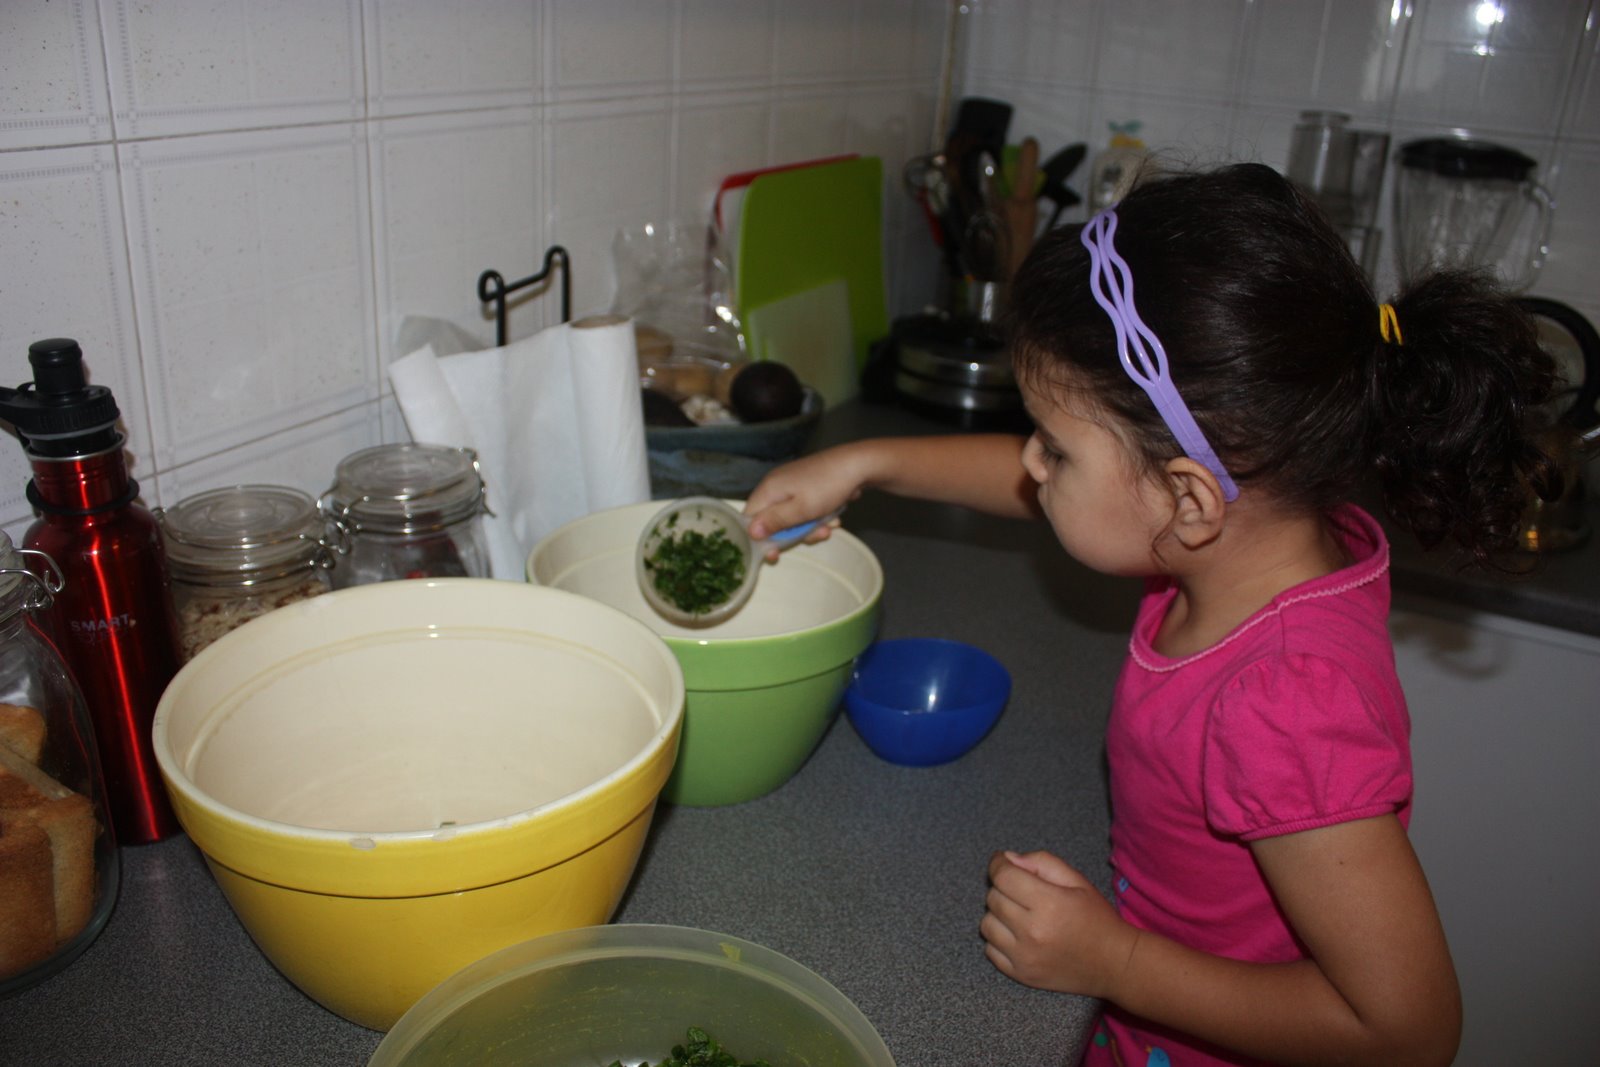
Finally it was time to eat! There are foods traditionally made for the festival: puri (fried bread), kala channa (black chickpeas) and halwa (a sweet dish made from semolina). It was a feast for the kids and their parents! The recipe for halwa follows.

Sooji (Semolina) Halwa
from the kitchen of The Whirl Girl's grandmother
Ingredients
200 g ghee
250 g sooji (semolina flour)
3 green cardamom pods, discard the pod and grind the seeds
3/4 cup sugar
2 cups water
slivered almonds for garnish
Directions
Heat the ghee in a skillet. Once its hot, add the sooji and cardamom. Then simmer on slow heat until brown, about 20-25 minutes. Keep stirring.
Add the sugar and mix in. Add 2 cups water and stir until water is absorped. Add more water if necessary. Taste for sugar.
Garnish with almonds. Serve warm.
Navratra is a Hindu festival in honor of the goddesses Durga (power), Lakshmi (wealth), and Saraswati (knowledge). Navratra means "nine nights" in Sanskrit and is celebrated for nine days, once in the spring and once in the fall. On the eighth day in the fall, young girls are worshiped as goddesses. In India, girls go from house to house and collect blessings and small gifts.
We wanted to share the festival with our friends so we invited some of our neighbors over to celebrate with us. And we wanted to be equal opportunity, so we invited the boys and the girls.
 |
| the kids listen to The Whirl Girl's grandfather tell them about the festival |
 |
| each kid gets his/her feet washed |
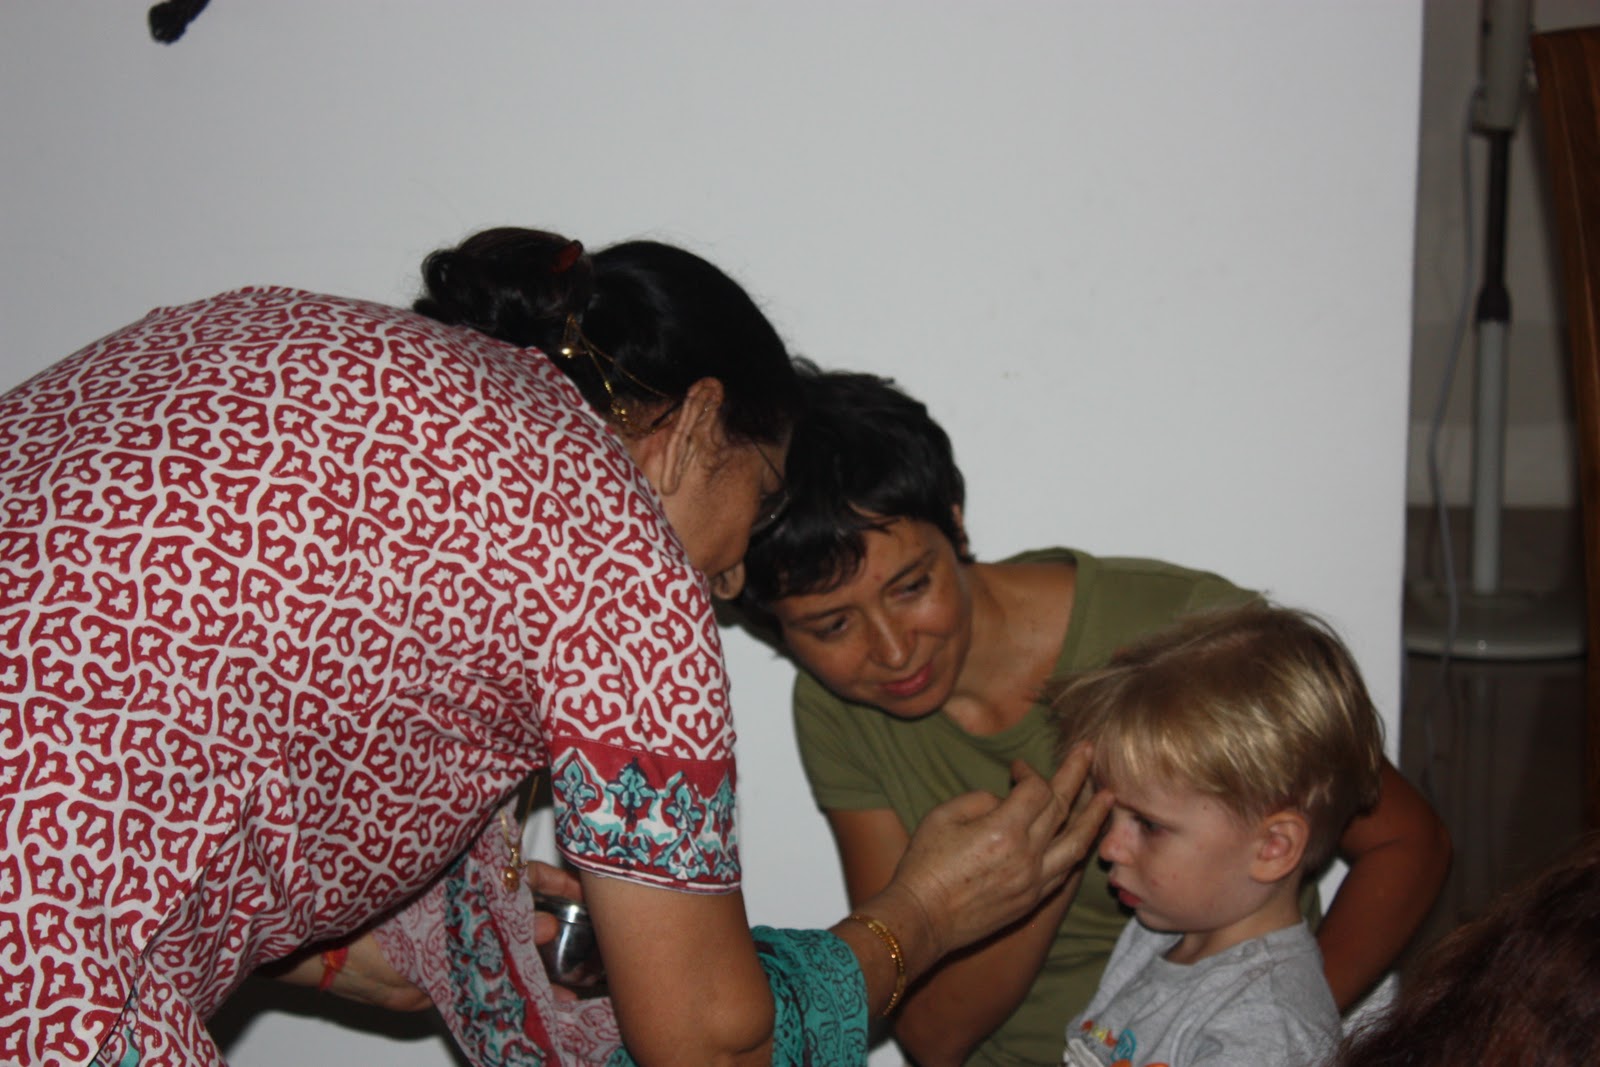 |
| then they get a red "tikka" - a powdered dot in between the eyebrows |
 |
| a nirvan (red ceremonial thread) is tied on the wrist of each of the kids |
Finally it was time to eat! There are foods traditionally made for the festival: puri (fried bread), kala channa (black chickpeas) and halwa (a sweet dish made from semolina). It was a feast for the kids and their parents! The recipe for halwa follows.

Sooji (Semolina) Halwa
from the kitchen of The Whirl Girl's grandmother
Ingredients
200 g ghee
250 g sooji (semolina flour)
3 green cardamom pods, discard the pod and grind the seeds
3/4 cup sugar
2 cups water
slivered almonds for garnish
Directions
Heat the ghee in a skillet. Once its hot, add the sooji and cardamom. Then simmer on slow heat until brown, about 20-25 minutes. Keep stirring.
Add the sugar and mix in. Add 2 cups water and stir until water is absorped. Add more water if necessary. Taste for sugar.
Garnish with almonds. Serve warm.


